
A Guide to Freehand Knife Sharpening on Water Stones
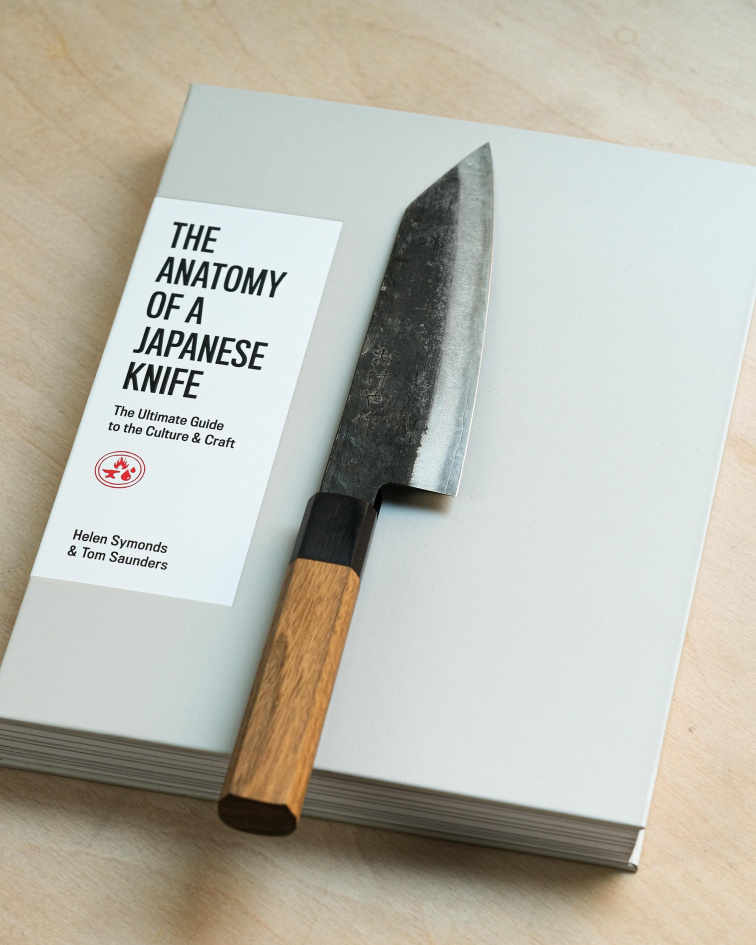
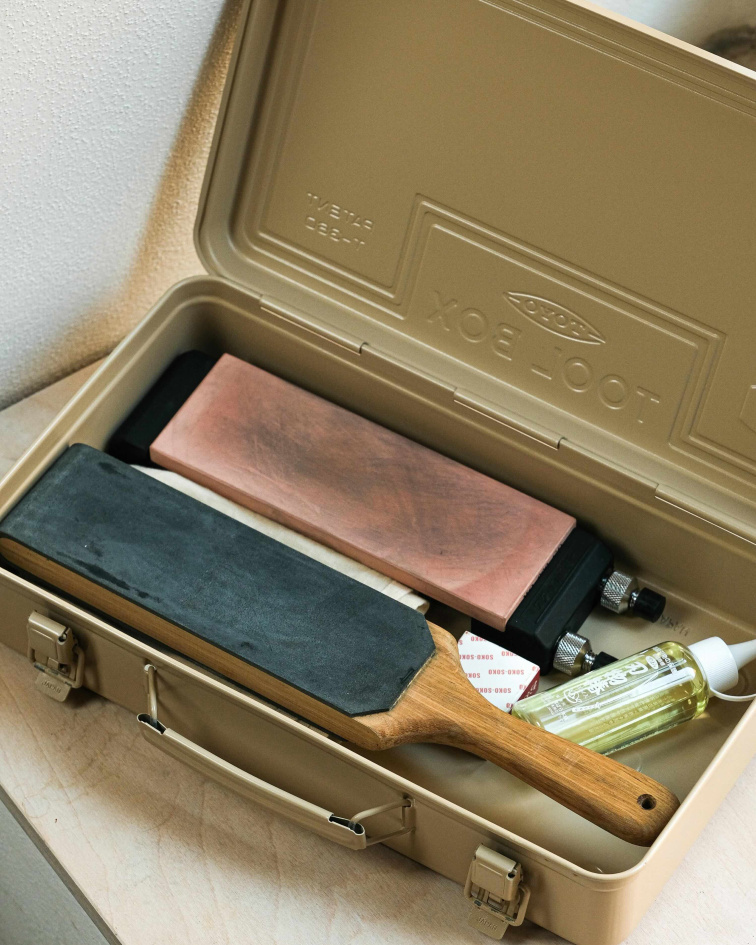
A Guide to Freehand Knife Sharpening on Water Stones
Many people are afraid of sharpening knives. They see it as a difficult skill to master, one they will not use all that often. But the truth is different. Freehand knife sharpening is not complicated, and you can use it almost anywhere—whether at home on a water stone or in the woods with a pocket sharpener. What is more, it is not merely routine tool maintenance. It is time to slow down, focus deeply, and develop a skill that will prove useful more often than you might think.
Article contents
The principle of sharpening
Different ways to sharpen a knife / why Japanese water stones
Glossary of knife-sharpening terms
Preparing the stones before sharpening
Sharpening procedure / 1. preparation
Sharpening procedure / 2. sharpening
Sharpening procedure / 3. final steps
Sharpening single-bevel knives
I did everything, but the knife is not sharp
Cleaning the knife and tidying up the stones
How to find the sharpening angle at the beginning?
Common sharpening mistakes
Why you should NEVER use oil on sharpening stones
Flattening water stones
Comparison table: KING versus Suehiro
Honing rods, leather strops, and when to use them
In conclusion
.
.
.
.
.
.
The principle of sharpening
Sharpening a knife consists of precisely removing steel from the edge of the blade until an apex is formed—a perfectly clean V-shaped tip that forms the cutting edge. This perfectly sharpened apex is the reason why your favorite knife glides smoothly through food, wood, and other materials.
Different ways to sharpen a knife / why Japanese water stones
There are many ways to achieve a properly sharpened edge. The market offers many guided sharpening systems with a fixed, adjustable sharpening angle. However, these systems have a number of disadvantages, including their high price, necessary maintenance, and the need to replace parts. Electric sharpening systems allow steel to be removed quickly, which is not at all gentle on the steel in the long term.
Freehand sharpening on synthetic water stones or natural stones offers a lower initial cost, greater versatility, and is maximally gentle on knives. You have complete control over every movement of the blade across the stone. Another undeniable advantage is the ability to adjust the sharpening angle for each part of the blade. For example, if you have a knife whose blade is thicker behind the edge at the heel and narrower toward the tip, you can smoothly change the sharpening angle during the stroke—larger at the heel and smaller at the tip—so that the bevel looks even. The bevel is the sharpened edge on one side of the blade, which forms the apex where it meets the bevel on the other side of the blade.
And the greatest advantage of freehand sharpening? It is know-how, not technology. In practice, this means that wherever you are, you can create a reliable edge with a sharpening stone.
Glossary of knife-sharpening terms:
Blade – the main functional (metal) part of a knife, from the bolster or handle to the very tip, containing the grind, bevel, and edge.
Grind – the overall shape and cross-sectional profile of the blade (e.g. flat, convex, hollow, or single-bevel), which determines how much the blade tapers from the spine toward the edge and what cutting characteristics the knife has.
Edge – the sharpened, sharp part of the blade that performs the actual cut.
Bevel – the ground surface at the very edge of the blade leading to the cutting edge.
Apex – the outermost point where the two bevels meet and the actual edge is formed.
Burr – a fine microscopic strip of steel that forms on the opposite side of the edge during sharpening. It is a clear sign that you have removed enough material.
Grit – the coarseness of a sharpening stone. Lower numbers (e.g. 240–400) indicate a coarse stone for repairing an edge, medium numbers (800–1000) are for regular sharpening, and high numbers (2000–8000) are used for final polishing and refinement.
Preparing the stones before sharpening
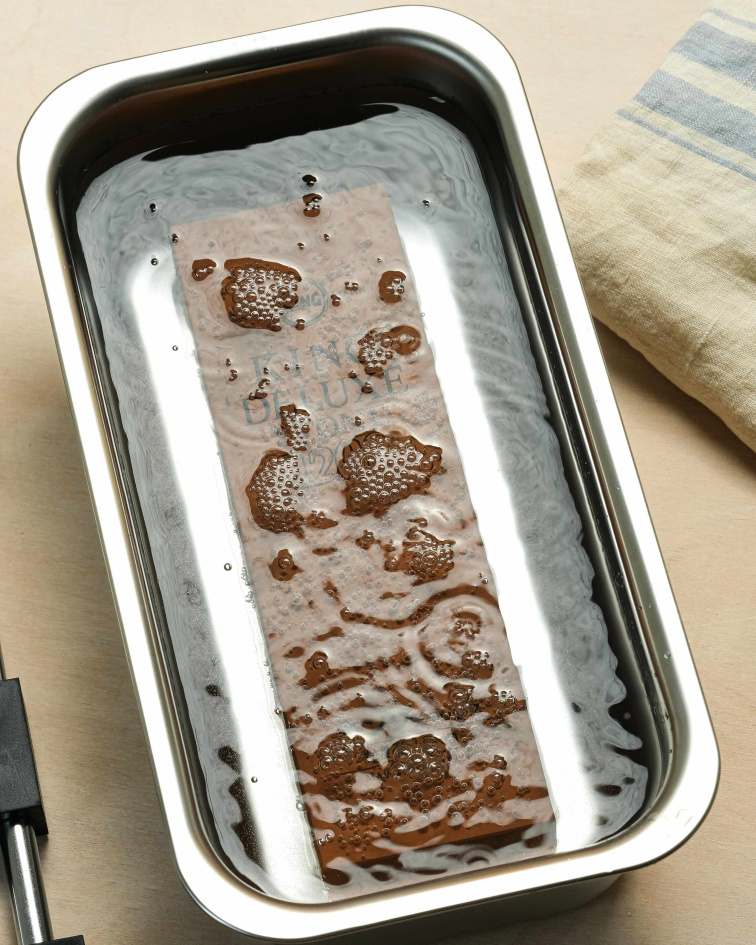
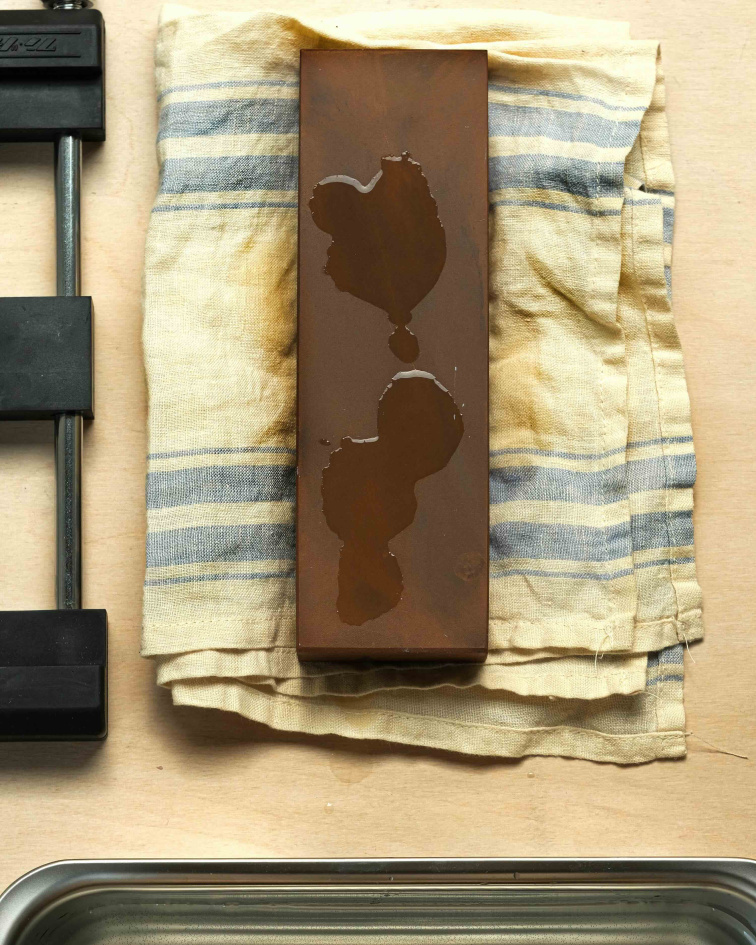
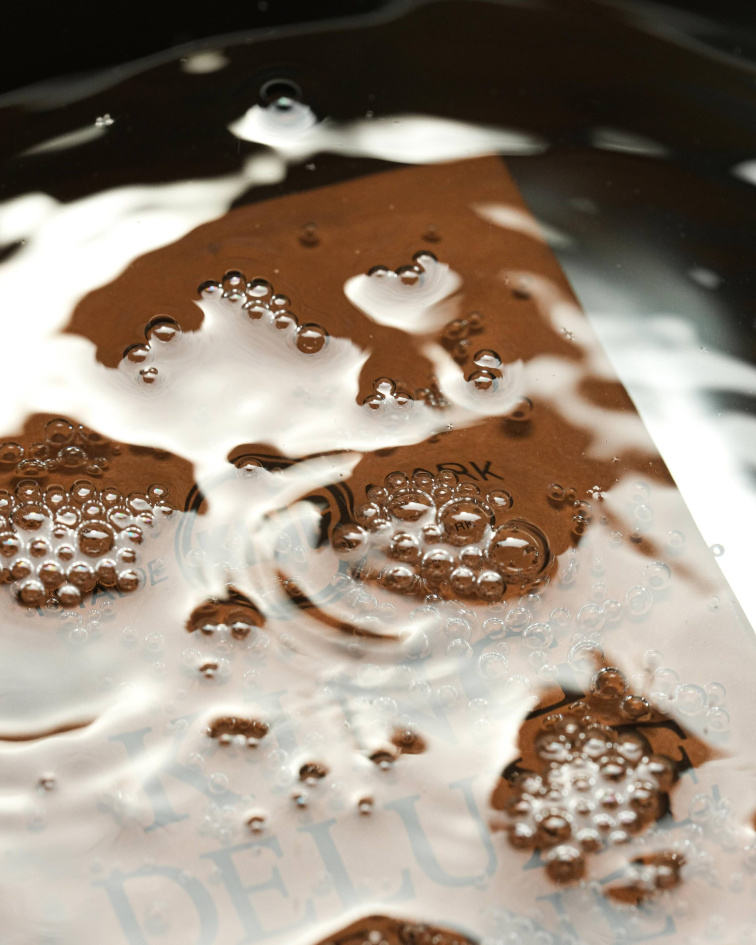
Japanese sharpening stones need to be prepared before use. We offer two types of water stones: standard Japanese synthetic sharpening stones from KING, which I would not hesitate to call the golden mean in their category. Synthetic water stones work like sponges. During sharpening, they release the water they have absorbed, ensuring smoother blade movement and washing away removed steel and stone particles. Water also acts as a lubricant, making the movement of the edge across the stone so smooth. KING stones need to be soaked in clean cold water before use until air bubbles stop coming out of them (usually 15–30 minutes is sufficient). Suehiro stones only need to be sprayed with clean water from a spray bottle or moistened by hand before use. The prepared stone then only needs to be placed in a holder or on a cloth on a flat surface so that it is stable and does not move during sharpening.
Sharpening procedure:
1. preparation
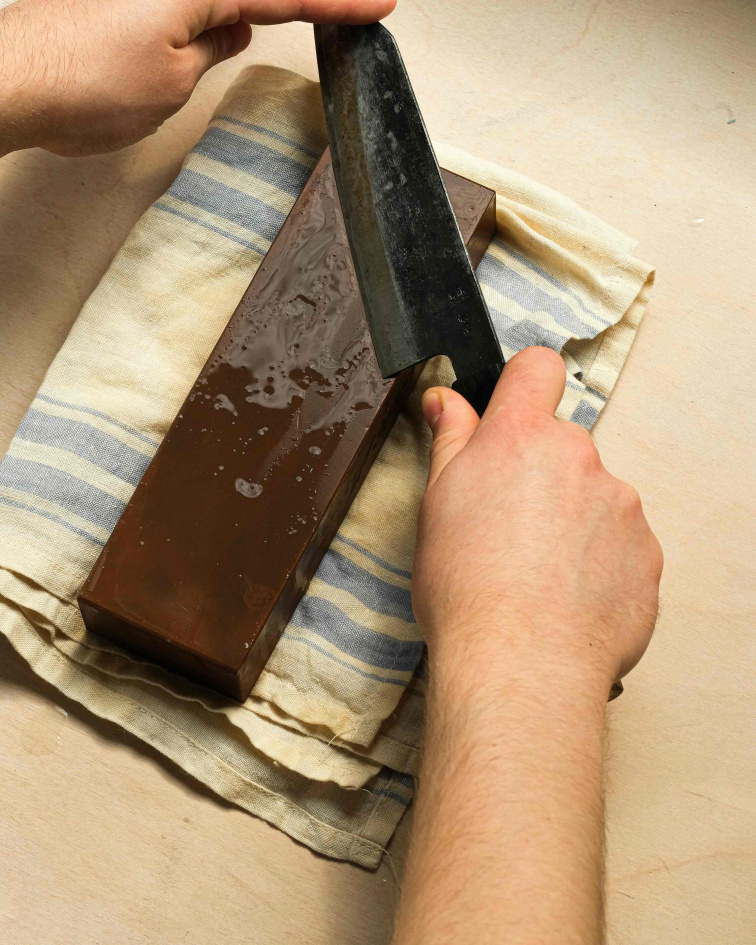
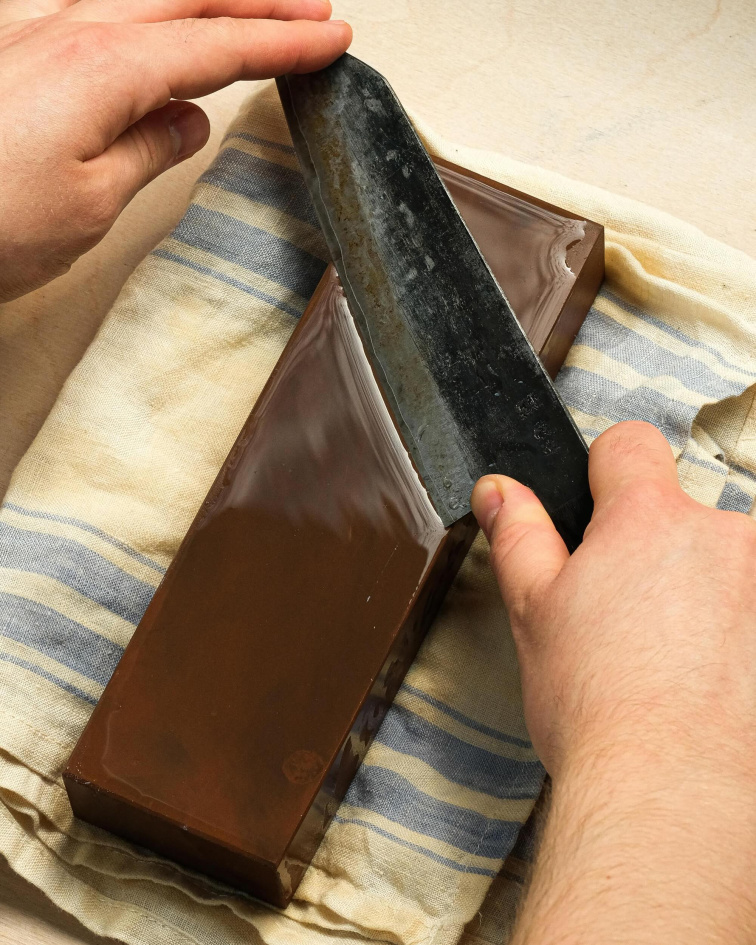
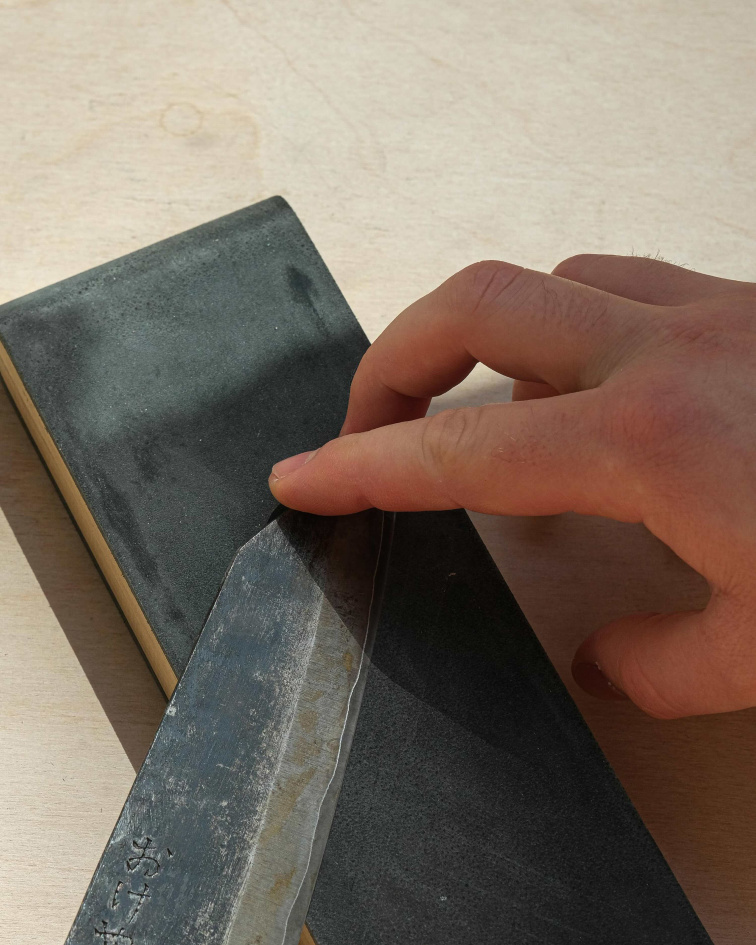
Before sharpening, it is important to have enough space around you and to place the stone at a height that makes sharpening comfortable and natural. You can sharpen either sitting or standing, depending on your preference. Hold the knife with one hand by the spine of the blade (many sharpeners hold it near the tip) and with the other by the handle. Then place the blade edge on the stone at the desired angle (usually 15–20 degrees). An important part of your posture when sharpening is keeping your elbows at one angle and not changing their position.
As I mentioned earlier, you can also change the angle during the stroke across the stone based on the geometry of the blade. This is more of an advanced technique that sharpeners naturally learn over time. At first, I recommend focusing on maintaining a fixed angle along the entire length of the edge.
2. sharpening
Move the knife across the stone by gently rotating your torso. Do not change the position of your hands. Apply only light pressure to the knife—enough to allow the edge to glide freely across the stone, but with sufficient resistance for the steel to be removed effectively. When progressing to higher-grit stones, it is advisable to reduce the pressure. With stones of 2000 grit and higher, let the blade glide almost under its own weight.
I recommend moving the edge across the entire surface of the stone. In other words, place the heel of the knife on the upper part of the stone and, drawing downward toward the tip, cover the entire surface of the stone with the edge. This maximizes the efficiency of each stroke. At the end of each stroke, lift the blade and repeat the process until you can carefully feel a burr on the apex of the edge with your finger. Once you can feel the burr with your fingernail, turn the knife over and sharpen the other side using the same procedure until the burr can be felt on the other side. The burr will thus be flipped over.
3. final steps
Place the knife on the same stone, or ideally on a finer stone, with the side where the burr can be felt facing down. Increase the sharpening angle slightly (by approximately one to two degrees). Run the edge over the stone a few times. Let the knife glide using only its own weight. Repeat the strokes on both sides until the burr can no longer be felt.
The apex of the edge is now perfectly smooth, even, and free of burrs, and ready for weeks of culinary work!
Sharpening single-bevel knives
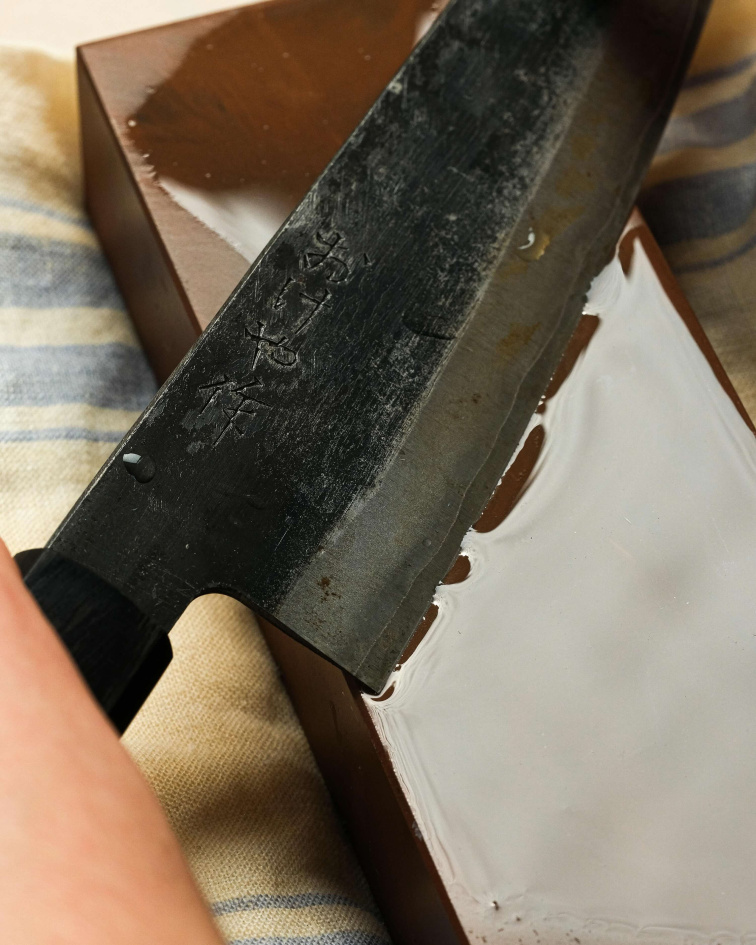
Because of their single-sided grind, knives are sharpened on the front side of the blade in the standard manner, and on the other side across the perimeter of the blade’s flat surface. We therefore recommend sharpening the front side at a larger angle of 20 degrees, and lightly sharpening the flat back side by laying it flat on a fine stone such as KING 2000.
I did everything, but the knife is not sharp
It happens even to the best of us :). In such cases, we recommend repeating the Final Steps subsection for a longer period. Occasionally, especially with stainless-steel knives, I recommend using a higher-grit stone to refine the bevel (for example, KING 2000).
Using a leather strop can also help. The procedure is the same, except that you must move the knife across the strop away from the edge so that you do not cut into the leather. With sufficient patience, this procedure will ensure that even a knife made of steel that is difficult to sharpen has a clean, and therefore sharp, apex.
Cleaning the knife and tidying up the stones
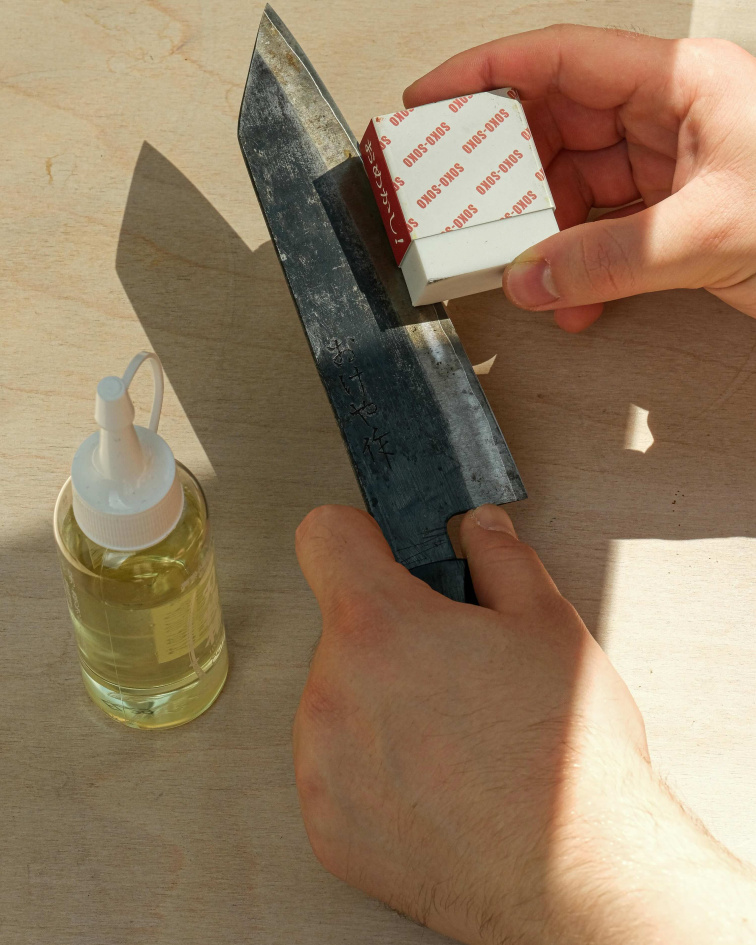
After sharpening, wash the knife under running water, clean it, and dry it. After sharpening a knife, it is a good idea to check that no residue from cutting, rust, or other impurities remain on the blade. If the knife is no longer what it used to be after weeks of intensive use, you can easily clean the blade’s surface with a Naniwa #400 rust-removal eraser. Be careful with knives with kurouchi or nashiji finishes, as the eraser may damage these surface treatments. Remember to oil carbon-steel knife blades with camellia oil before storing them.
Rinse the stones as well and leave them to air-dry for at least 24 hours, ideally 48 hours. I personally like to stand the stone on its side and turn it over while it dries so that the water evaporates evenly and efficiently.
Avoid drying the stones in sunlight or in extreme temperatures (freezing heat). UV radiation and extreme temperatures can degrade the bonding agent in the stone. The stone may then wear out more quickly or, in worse cases, crumble.
How to find the sharpening angle at the beginning?
If you are unsure what a 15–20-degree angle looks like in practice, use a simple coin trick. When you place the knife flat on the stone and put a stack of coins under its spine, you will achieve the ideal distance. For a standard kitchen knife (with a blade width of around 4.5 cm), you will need the following to achieve the optimal angle: Czech korunas: 3 coins worth 50 CZK stacked on top of one another (each is 2.50 mm thick). Euros: 4 €2 coins stacked on top of one another (each is 2.20 mm thick). The aim is to create a stack approximately 1 to 1.2 cm high under the knife spine. Your thumb is another excellent aid—if you can just fit the tip of your thumb under the blade spine, you are holding the correct angle. Remember that the angle does not need to be absolutely precise; the most important thing is being able to maintain it steadily throughout the stroke.
Tip: You do not need to awkwardly hold the coins under the knife throughout the entire sharpening process. Simply place the stack of coins at the edge of the stone, rest the knife spine against it to get the correct slope “by eye” and into your muscle memory, move the coins aside, and start sharpening. Pay special attention to the less dominant side of the knife (when turning it), where we naturally tend to change the angle unconsciously—slow down here and keep an eye on the angle.
If you are still unsure about the angle, do not panic. A sharpening guide will ensure a perfect angle for all your knives. It can easily be attached to the spine of any double-bevel knife with a blade width of more than 20 mm. It is a practical aid suitable for every beginner freehand sharpener.
Common sharpening mistakes
Incorrect angle control – this can result in an incomplete apex, meaning the edge will continue to feel dull even after a long sharpening session. It is a good idea to keep your elbows steady and, at first, use slow and deliberate strokes.
Applying too much pressure to the knife – excessive pressure prevents the effective removal of material and increases the likelihood of changing the angle. Let the knife glide across the stone with only light pressure.
Skipping parts of the edge – when sharpening, it is important to reach every part of the edge so that the apex is formed along its entire length.
Dry stone – this prevents the knife from gliding smoothly across the stone, washing away removed steel, and forming an abrasive slurry—it is perfectly fine to moisten the stone again after some time.
Impatience – knife sharpening should be a Zen activity. Give yourself peace and space for sharpening to minimize any of the mistakes listed above.
Why you should NEVER use oil on sharpening stones
A water stone is like a sponge. It is porous and absorbent. Using oil on a water stone permanently clogs its pores. The stone will lose its absorbency, making sharpening on it difficult or even impossible. In addition, some oils may react poorly with the binder in the stone due to their chemical composition and begin to break it down.
Flattening water stones
After repeated use of a KING water stone, the material wears away and depressions form in the most heavily used areas. These depressions then cause uneven and uncomfortable sharpening.
Soak the stone with depressions in water as you would before sharpening. Then wipe it with a cloth and mark the highest areas on the stone with a pencil. Place the stone on a cloth on a flat surface and gradually grind down the raised areas using a flattening stone. The surface does not need to be perfectly flat; it is enough for it to be flat to the eye and to the touch. Then rinse and dry the stone as usual.
KING versus Suehiro
|
Brand |
KING |
SUEHIRO |
|
Category |
The gold standard, excellent value for money. |
Premium range for more demanding users. |
|
Hardness and density |
Softer, wears out sooner (creates abrasive slurry). |
Considerably more compact, harder, and more durable (does not create slurry). |
|
Preparation |
Requires full soaking (15–30 min) before use. |
No soaking required; simply pour or spray water over the surface. |
|
Sharpening feel |
Traditional, provides excellent feedback. |
Smoother, more precise, and highly consistent operation. |
|
Surface maintenance |
Requires regular flattening with a flattening stone. |
Low porosity; simply clean with the included diamond. |
Honing rods, leather strops, and when to use them
Although sharpening on stones is fundamental, you do not need to take your knife to a stone every time it loses a little of its full cutting performance. Honing rods and leather strops are used to maintain the edge between major sharpening sessions.
Ceramic honing rod – Unlike ordinary metal honing rods, which mainly realign the edge, a ceramic rod can remove a small amount of steel. It is ideal for quickly refreshing kitchen knives before cooking. Just use a few light strokes at the correct angle.
Leather strop – This tool is used to smooth the edge completely and remove micro-burrs. It can be used either as the final stage after sharpening on stones or at any time between full sharpening sessions when the knife is no longer extremely sharp. Apply minimal pressure on the leather and always move the knife in the direction of the spine.
In conclusion
Freehand knife sharpening is not just about equipment; it is primarily about experience and know-how. While screws come loose in guided sharpening systems and the motor in electric sharpeners burns out, freehand sharpening will always remain with you. It is a precise, meditative, and above all highly personal skill that you can carry with you everywhere—and it is well worth mastering.
FAQ
How often should I sharpen my knife?
The amount of time after which a knife should be sharpened again varies greatly from person to person. A huge number of factors are involved (how often you cook, what type of cutting board you use, how hard the steel of your knife is), so it would be misguided to give a blanket rule such as “once a week.” You can easily tell when it is time for the stone—the knife will begin to drag in the kitchen. If you have to press down on the knife when cutting a tomato instead of letting it pass through under its own weight, or if the knife slides over the smooth skin of an onion, it is time to take it to a sharpening stone.
What should my first sharpening stone be?
As a first sharpening stone, we unequivocally recommend 1000 grit (whether from KING or Suehiro). Thanks to its medium grit, it is excellent for regular, routine maintenance of a slightly dull edge, but with a little patience you can also nicely reprofile a knife on it. It is simply a versatile workhorse that should not be missing from any setup.
What is the difference between sharpening stones?
Besides grit, stones differ primarily in their material and the hardness of their binder. On the market, you will find natural and synthetic stones (water- or oil-based). The synthetic Japanese water stones we offer are further divided into softer ones (e.g. KING) and harder/more compact ones (e.g. Suehiro). Softer stones release abrasive particles more quickly during sharpening and create a thick slurry that sharpens very well, but the stone becomes dished sooner. Harder stones retain a perfectly flat surface for longer, remove steel more precisely, absorb less water, and often only need to be sprayed with a spray bottle before use.
How should I combine sharpening stones?
When sharpening, it is ideal to proceed from the coarsest stone to the finest. We can divide stones into two basic groups according to their grit:
Medium stones (600 to 1500 grit): This is where the actual sharpening and formation of the new apex take place.
Fine and finishing stones (2000 to 8000 grit): These are used to polish the bevel, remove micro-burrs, and bring the edge to razor sharpness.
Ideal procedure: For standard sharpening, start with a stone of 600 to 1000 grit, where you create a burr on both sides, and then move on to a stone of 1500 to 2000 grit, where you polish and refine the edge.
Matouš, Tokyo Tools ©